 Linuxbeast Developer
I opened VS Code one morning and the Codex panel just said “Codex Could Not Start” with the message “The extension could not start its user interface.” No chat, no agent, nothing. If you’re seeing the same thing, the quickest fix for Codex could not start in VS Code is to roll the extension back to an older build that still works, then stop VS Code from updating it again.
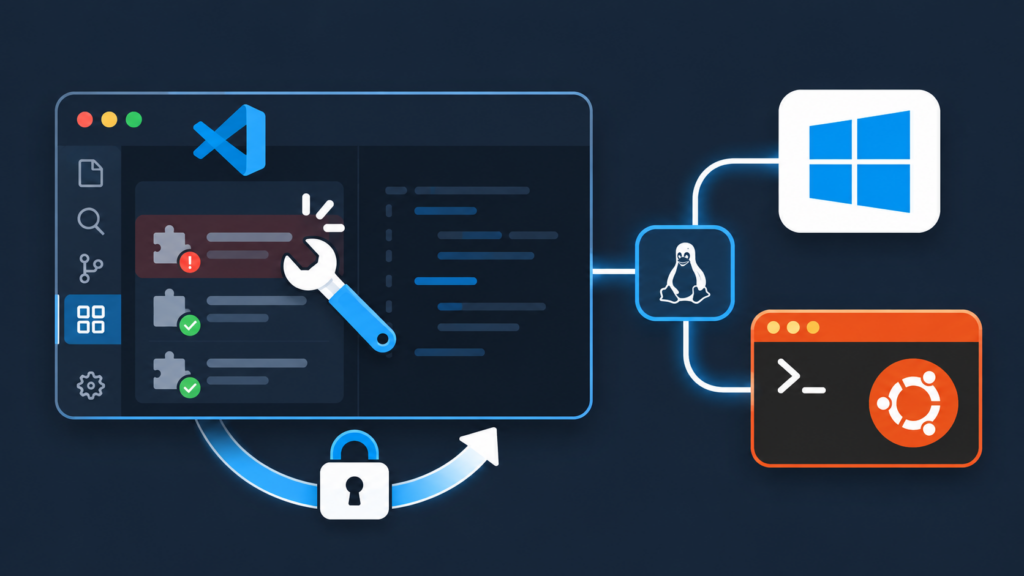
This fix comes from a workaround another user shared in the community, and I tested it on my own machine. The examples here run on Windows 11 with WSL2 Ubuntu 24.04. I’ll cover both the desktop VS Code and the WSL side, because you have to fix them separately.
Why Codex Could Not Start in VS Code
Codex is OpenAI’s coding agent, and in VS Code it ships as the extension openai.chatgpt. VS Code updates extensions automatically by default. When a release has a bug, every machine that auto-updates gets the broken version at the same time.
That’s what happened here. Newer builds failed to load the Codex panel, while an older build kept working. There’s no official root cause yet, so the safe move is to pin a version that works and wait for a fixed release.
One thing that trips people up: VS Code on WSL keeps a separate copy of your extensions inside Linux. Think of it as two toolboxes, one on Windows and one in Ubuntu. Fixing the Windows one doesn’t touch the Ubuntu one.
Quick Option: Let an AI Agent Fix It for You
If you use an AI coding agent that can run commands on your machine (like Claude Code CLI or Codex CLI), you can hand this whole fix to it. Think of it as giving a helper a checklist: it runs the commands, and you approve each change.
Copy this prompt and paste it into your agent:
My Codex extension (openai.chatgpt) in VS Code shows "Codex Could Not Start: The extension could not start its user interface." Please fix it by rolling back to version 26.51007.21434 and stopping auto-updates. Ask me before making any change.

1. Check my setup: run "code --version" and "code --list-extensions --show-versions" and show me the openai.* extensions and their versions.
2. On Windows desktop VS Code: run "code --uninstall-extension OpenAI.chatgpt", then "code --install-extension OpenAI.chatgpt@26.51007.21434 --force".
3. Open my VS Code user settings.json (on Windows: %APPDATA%\Code\User\settings.json) and add "extensions.autoUpdate": false without removing any of my existing settings.
4. If I use WSL: in my WSL distro, find the VS Code Server tool at ~/.vscode-server/bin/<build>/bin/code-server (the build ID should match "code --version"). Use it to uninstall openai.chatgpt and install openai.chatgpt@26.51007.21434 --force.
5. List the installed versions again on Windows and in WSL to confirm both show 26.51007.21434.
6. Tell me to reload VS Code (Developer: Reload Window) on desktop and in my WSL window, then test the Codex panel.

Do not delete other extensions, do not run anything as administrator, and do not change any other settings.
Always read what the agent wants to run before you approve it. If you’d rather do it yourself, or you want to understand each step, follow the manual guide below.
Prerequisites
- VS Code installed on Windows, with the
codecommand available in PowerShell (the installer adds it by default) - The Codex extension (
openai.chatgpt) installed - For the WSL part: VS Code already connected to WSL. If it isn’t, see How to Connect Visual Studio Code with WSL 2 for Linux Ubuntu
Step-by-Step Fix
Step 1: Check Which Codex Version You Have
Open PowerShell and list your installed OpenAI extensions:
code --list-extensions --show-versions | Select-String openai--list-extensions: prints every installed extension--show-versions: adds the version number next to each oneSelect-String openai: filters the output to OpenAI extensions only
You’ll see something like openai.chatgpt@26.1021.22027. Write that version down in case you want to compare later.
Step 2: Uninstall the Broken Codex Extension
code --uninstall-extension OpenAI.chatgptIf you already uninstalled it from the Extensions panel but it still shows up in Step 1, VS Code is just waiting for a reload. This command clears it out properly.
Step 3: Install the Older Working Version
code --install-extension OpenAI.chatgpt@26.51007.21434 --force@26.51007.21434: installs this exact version instead of the latest--force: replaces any version that’s already installed
You don’t need to run PowerShell as Administrator. Extensions install under your own user profile.
Step 4: Turn Off Auto Update
If you skip this, VS Code will quietly pull the broken version back in within a few hours. You can block it in two ways, and I’d do both.
For Codex only: open the Extensions panel, find Codex, click the gear icon, and untick Auto Update.
For all extensions: press Ctrl+Shift+P, run Preferences: Open User Settings (JSON), and add this line:
"extensions.autoUpdate": false,This stops every extension from updating, not just Codex. That’s the trade-off, so remember to turn it back on later.
Step 5: Reload VS Code and Test
Close every VS Code window and open it again, or run Developer: Reload Window from the Command Palette. Open the Codex panel. It should load normally now.
Fix Codex in VS Code on WSL2 Ubuntu
My desktop VS Code worked after Step 5, but the Codex panel inside my WSL window was still broken. That’s because the WSL side had its own copy of the extension, and it was a different version.
VS Code runs a small helper program inside Ubuntu called the VS Code Server. It lives in ~/.vscode-server and comes with its own command-line tool for managing extensions.
Step 6: Find the VS Code Server in WSL
Open your Ubuntu terminal and list the server builds:
ls ~/.vscode-server/bin/You’ll see one or more long folder names, like 261c84cb1eddf11235f9e2c921425e9663fbe556. Each one matches a VS Code release. Save the path to the server tool in a variable so the next commands stay short:
S=$(ls -d ~/.vscode-server/bin/*/bin/code-server | tail -1)
$S --list-extensions --show-versions | grep -i openaiS=$(...): stores the path to the server’scode-servertooltail -1: picks the last build if there’s more than one. If you’re not sure which build is current, runcode --versionin PowerShell and match the long ID to a folder namegrep -i openai: shows only OpenAI extensions
On my machine, WSL had openai.chatgpt@26.930.21537, a different version from Windows.
Step 7: Install the Same Working Version in WSL
$S --uninstall-extension openai.chatgpt
$S --install-extension openai.chatgpt@26.51007.21434 --force
$S --list-extensions --show-versions | grep -i openai
The last command should now show openai.chatgpt@26.51007.21434, the same as your desktop.
You don’t need to change any settings in WSL. The extensions.autoUpdate setting from Step 4 lives in your Windows user settings and applies to the WSL window too.
Step 8: Reload the WSL Window
In your WSL VS Code window, run Developer: Reload Window. If Codex still won’t load, close the window and reconnect to WSL. A fresh connection makes the server pick up the new extension.
Quick Reference
| Where | Tool to use | Extensions folder |
|---|---|---|
| Windows desktop | code in PowerShell | %USERPROFILE%\.vscode\extensions |
| WSL2 Ubuntu | ~/.vscode-server/bin/<build>/bin/code-server | ~/.vscode-server/extensions |
If It Still Doesn’t Work
- Check the companion extension. Installing Codex can also pull in
openai.codex-audioat its latest version. If the panel still fails, that version mismatch is the next thing to look at. - Check the logs. Open View > Output and pick the Codex entry from the dropdown. Errors there usually point to what’s failing.
- Watch your memory. AI extensions running on both Windows and WSL can use a lot of RAM. See How to Fix VSCode WSL2 High Memory Usage from AI Coding Extensions if things feel slow.
A similar “extension won’t start” problem happens with other AI tools too. I covered one in Fixing GitHub Copilot Chat “Took Too Long to Get Ready” in VS Code.
Undo the Fix Later
Once OpenAI ships a fixed release, remove the "extensions.autoUpdate": false line from your settings and tick Auto Update on Codex again. Then update the extension from the Extensions panel on both Windows and WSL. If the new version breaks again, just repeat Steps 2 to 7.
Conclusion
The “Codex Could Not Start” error came from a bad extension release. Rolling back to 26.51007.21434 on both Windows and WSL2, then turning off auto-update, got Codex working again. If you also like running Codex from the terminal, take a look at How to Install and Use Codex Autorunner on WSL2 Ubuntu.