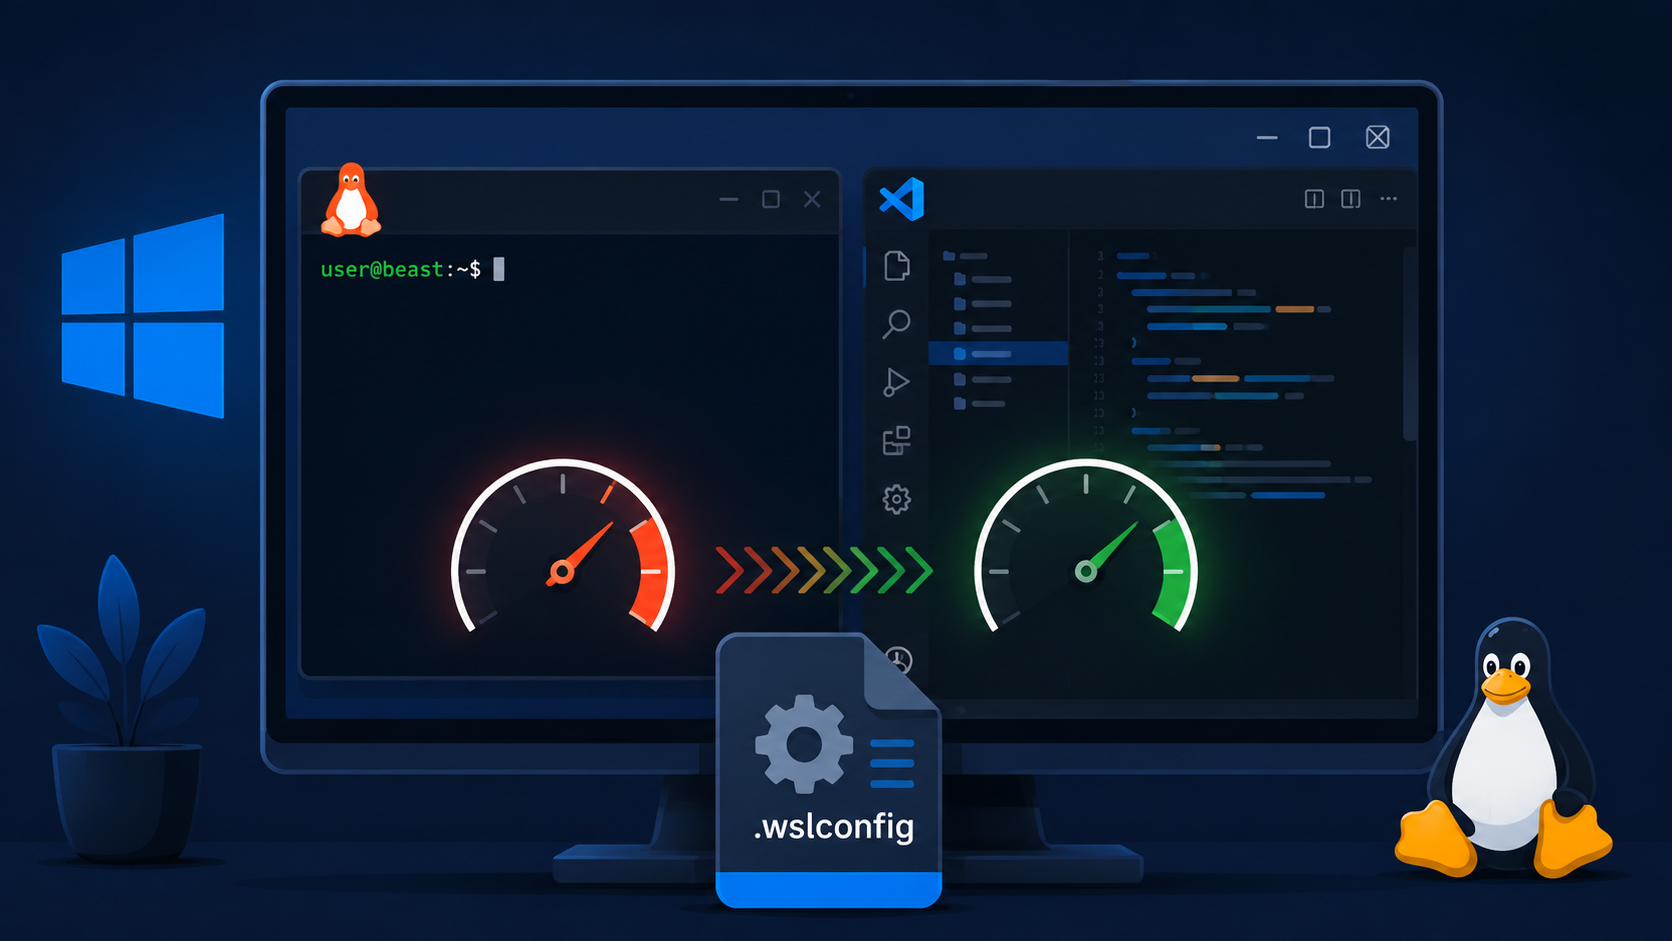
If you run VS Code connected to WSL2 and have AI coding extensions installed (like the OpenAI ChatGPT extension or Claude Code on WSL2), you may have noticed your machine slowing down over time. In worse cases, WSL just disconnects mid-session and you have to restart everything. This guide walks you through capping WSL2 memory and enabling automatic memory reclaim so your machine stays stable while running multiple AI extensions.
The examples in this guide are run on WSL2 Ubuntu in Windows, but the .wslconfig settings
apply to any WSL2 setup regardless of the Linux distribution.
Why AI Extensions Cause This
WSL2 runs inside a lightweight virtual machine on Windows. By default, it can claim up to 50% of your total RAM (or 8GB, whichever is lower on older builds). AI coding extensions are particularly heavy because they spawn multiple background worker processes per extension. If you are running two AI extensions at the same time, the combined process count adds up quickly.
The issue compounds because WSL2 does not release memory back to Windows once it grabs it, by default. So over time, available RAM on the Windows side keeps shrinking. Eventually WSL runs out of room and either crashes or drops the network connection, which is what causes the VSCode WSL disconnects.
This is also a common pattern with other resource-heavy extensions. If you have run into similar behavior with GitHub Copilot, the fix is the same. See Fixing: GitHub Copilot Chat “Took Too Long to Get Ready” in VS Code for related context.
Configure .wslconfig to Cap WSL Memory
The .wslconfig file is a Windows-side configuration file that controls WSL2 global settings,
including memory limits, CPU usage, and swap space. It lives in your Windows user profile folder, not
inside WSL itself.
Step 1: Open .wslconfig
Open a Windows PowerShell or Command Prompt window and run:
notepad %UserProfile%\.wslconfig
If the file does not exist yet, Notepad will prompt you to create it. You can also navigate directly to
C:\Users\<your-username>\ in File Explorer and create a new text file named
.wslconfig (no extension, just the dot-prefix).
Step 2: Add the Memory Settings
Add the following to your .wslconfig file. If you already have a [wsl2] section,
add the new lines inside it rather than duplicating the header.
[wsl2]
memory = 12GB
processors = 6
swap = 4GB

[experimental]
autoMemoryReclaim = gradual
A rough guide for sizing the memory value based on your total RAM:
- 16GB total RAM: set
memory = 8GB - 32GB total RAM: set
memory = 12GBor16GB - 64GB total RAM: set
memory = 24GBor higher depending on workload
The goal is to leave enough RAM for Windows itself and its processes. A good rule of thumb is to give WSL no more than 40-50% of your total memory.
Step 3: Restart WSL
Save the file, then open a Windows PowerShell window (not your WSL terminal) and run:
wsl --shutdownThis fully shuts down the WSL2 virtual machine. The new memory limits apply the next time you open a WSL terminal or launch VSCode with the WSL extension.
What Each Setting Does
memory: hard cap on how much RAM the WSL2 VM can use. WSL cannot exceed this value regardless of what processes are running inside it.processors: limits the number of CPU cores available to WSL. Optional, but useful if you notice high CPU usage from background extension workers.swap: virtual memory WSL can use if it hits the memory cap. Acts as a buffer so processes are not immediately killed when RAM gets tight.autoMemoryReclaim = gradual: tells WSL to slowly release unused memory pages back to Windows over time, instead of holding onto them indefinitely. Thegradualmode is the safest option as it reclaims memory without aggressively flushing caches.
Note: The [experimental] block with autoMemoryReclaim requires
Windows 11 and WSL version 2.0.0 or later (released September 2023). If you are on Windows 10, skip the
[experimental] section entirely. The memory cap alone will still prevent the disconnect issue.
Verify the Limits Are Applied
After restarting WSL, you can confirm the memory limit is in effect by running this inside your WSL Ubuntu terminal:
free -h
The total memory shown should match the value you set in memory. If it still shows the
full system RAM, double-check that the file is saved as .wslconfig with no extra extension,
and that wsl --shutdown was run from a Windows shell (not WSL itself).
If you run into other WSL networking problems after the restart, the guide on Global MCP Server Configuration in VS Code WSL: Fixing Startup Errors covers related connection issues between VSCode extensions and WSL.
Conclusion
Capping WSL memory with a .wslconfig file is the most reliable fix for AI extension-related
disconnects. The extensions can still run their background workers, but they are now operating within a
defined memory budget instead of competing with Windows for the entire RAM pool. Adding
autoMemoryReclaim = gradual on top of that keeps things tidy over long sessions.
If you are setting up AI tools on WSL2, check out How to Install Claude Code CLI on WSL2 Ubuntu for the full setup guide. For npm-related WSL2 slowness that sometimes gets confused with memory issues, see How to Fix npm install Timing Out on registry.npmjs.org in WSL2.