
Exploring the powerful combination of Windows and Linux has never been easier, especially when it comes to developing in a Linux-based environment while still using Windows. With Windows Subsystem for Linux version 2 (WSL 2) and Visual Studio Code (VSCode), you can enhance your development workflow significantly. This guide helps you to interlink VSCode with your WSL 2 running Linux Ubuntu, so you can develop and debug your projects efficiently.
Why Link VSCode with WSL 2?
Linking VSCode with WSL 2 allows you to:
- Access a real Linux development environment on Windows.
- Use VSCode to edit files stored in WSL 2’s Linux file system.
- Run and debug your applications in a Linux environment directly from VSCode on Windows.
To facilitate this connection, you will indeed require the Remote Development extension pack within VSCode.
Steps to Integrate VSCode with WSL 2 and Linux Ubuntu
Let’s connect VSCode with WSL 2 with a focus on Linux Ubuntu in simple steps.
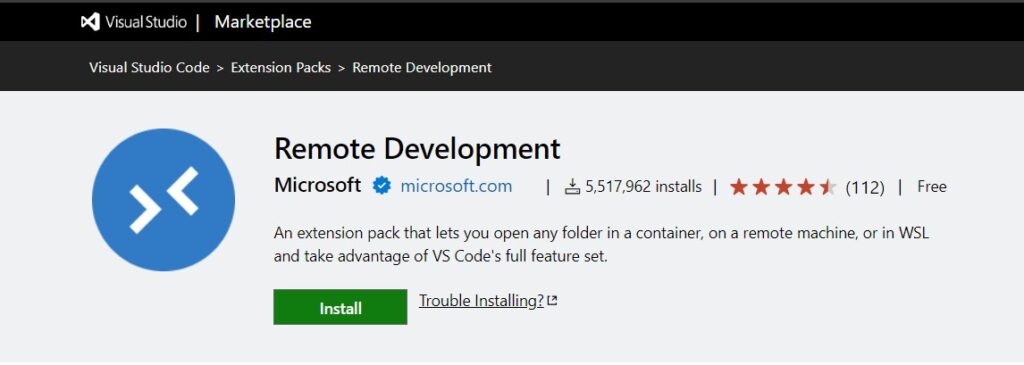
Step 1: Install the Remote Development Extension Pack
- Fire up VSCode in Windows.
- Go to the Extensions view by clicking the extensions icon on the sidebar or shortcut
Ctrl+Shift+X. - Search for “Remote – WSL” or type in “Remote Development”.
- Look for “Remote Development” by Microsoft, then hit
Install. This pack includes the necessary “Remote – WSL” extension amongst others.
Step 2: Launch Your Project in WSL 2
Now it’s time to open up your project within the WSL 2 environment:
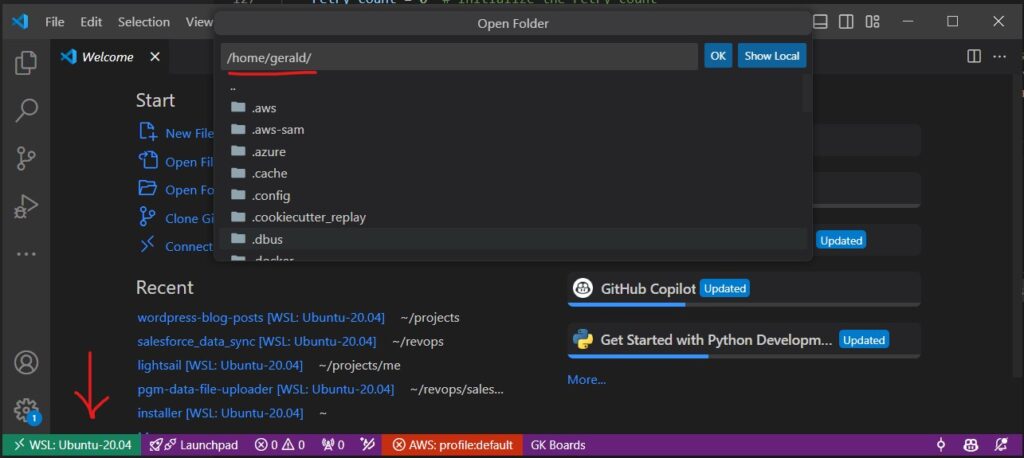
- Select the green-colored Remote Window button in the bottom-left corner of VSCode.
- From the pop-up menu, choose “Remote-WSL: New Window”.
- A fresh instance of VSCode will emerge, showing “WSL: Ubuntu” on the status bar at the bottom-left if Ubuntu is your Linux distro.
- Now go to
File -> Open Folder, and find your project directory that resides inside the WSL 2’s filesystem, most likely found in/home/yourusername/.
Step 3: Dive into Linux Development on Windows
With your project open in VSCode, everything works as expected—the catch is, all operations are conducted inside the WSL 2 subsystem. You’re free to install extensions, execute terminal commands, and tweak files as if you were using Linux native VSCode.
Pro Tips
- Open a terminal in VSCode (`Ctrl+“`) to access the WSL 2 shell.
- Remember to install any language-specific or utility extensions within this remote session to ensure they are applied in WSL 2, not on your Windows machine.
Wrapping Up
By merging the comfort of Windows and the robust performance of Linux Ubuntu through WSL 2 and VSCode, developers gain an efficient, unified environment. This setup mirrors the production setting more closely and facilitates the use of tools available in Linux, ultimately optimizing the development process.
Enjoy coding and the newfound synergy between VSCode and WSL 2 for Linux Ubuntu!