
Every time you rebuild a Docker image with the same tag, the previous version loses its tag and becomes a dangling image — shown as <none>:<none> in your image list. Over time, these pile up and eat disk space. This guide shows you how to remove none tag Docker images and keep your environment clean.
The examples in this guide are run on WSL2 Ubuntu in Windows, but they work the same on any system with Docker installed.
What Are Dangling Docker Images?
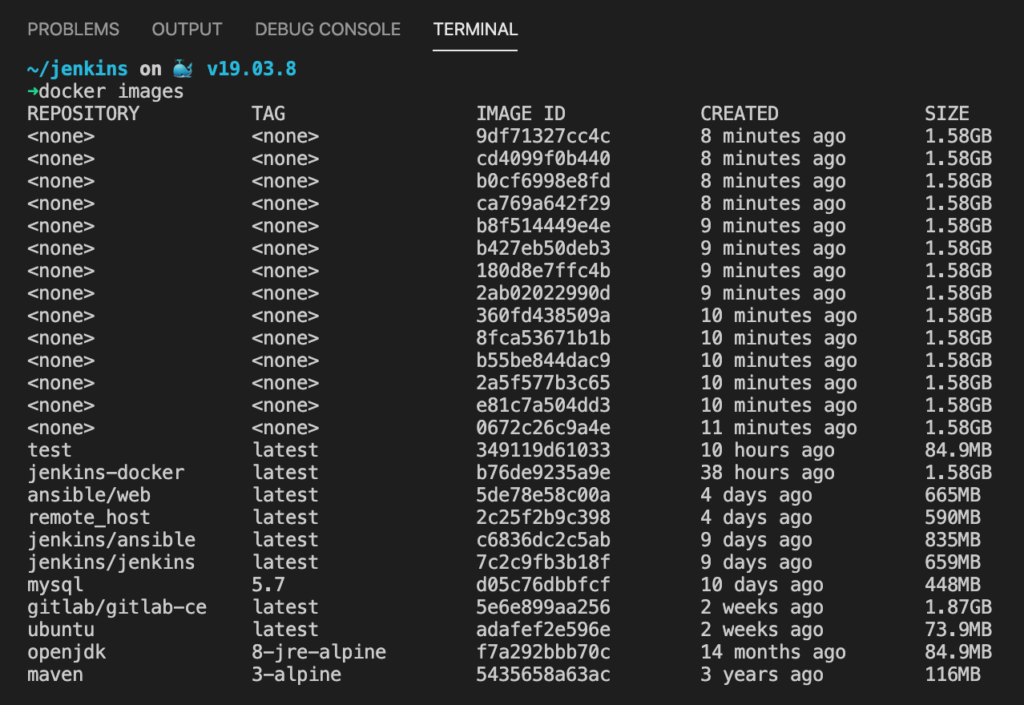
When you build an image like myapp:latest and then rebuild it, Docker creates a new image with that tag. The old image loses the tag and becomes “dangling” — it has no name, no tag, and no container using it. You’ll see these as <none> entries when you run docker images.
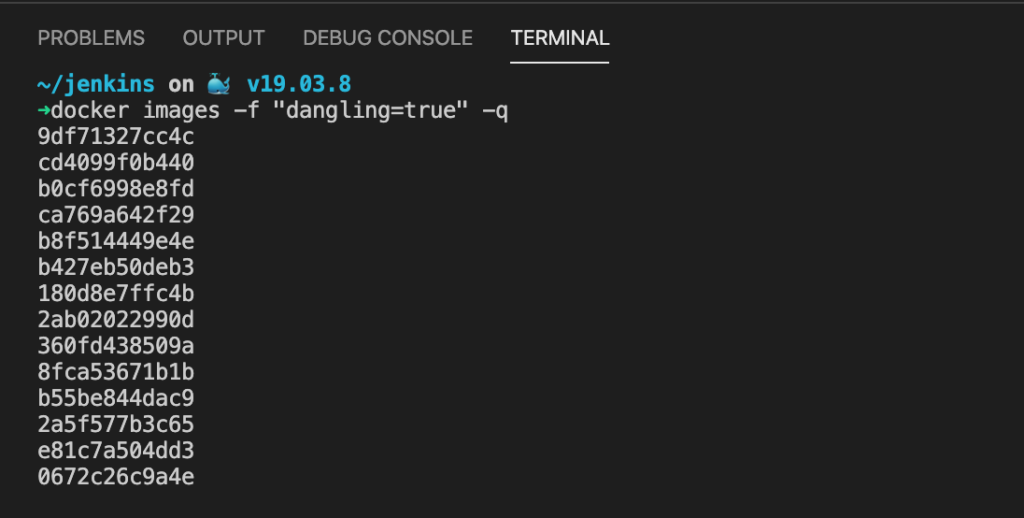
Step 1: Check for Dangling Images
List all dangling images on your system:
docker images -f "dangling=true"This filters for images with <none> in both the REPOSITORY and TAG columns. If nothing shows up, you’re already clean.
Step 2: Remove All None Tag Docker Images
The recommended way to clean up dangling images is docker image prune:
docker image prune -fdocker image prune— removes all dangling (untagged, unreferenced) images-f— skips the confirmation prompt
Docker will output the image IDs it deleted and the total disk space reclaimed.
Step 3: Verify the Cleanup
Confirm the <none> images are gone:
docker imagesYou should no longer see any <none> entries in the list.
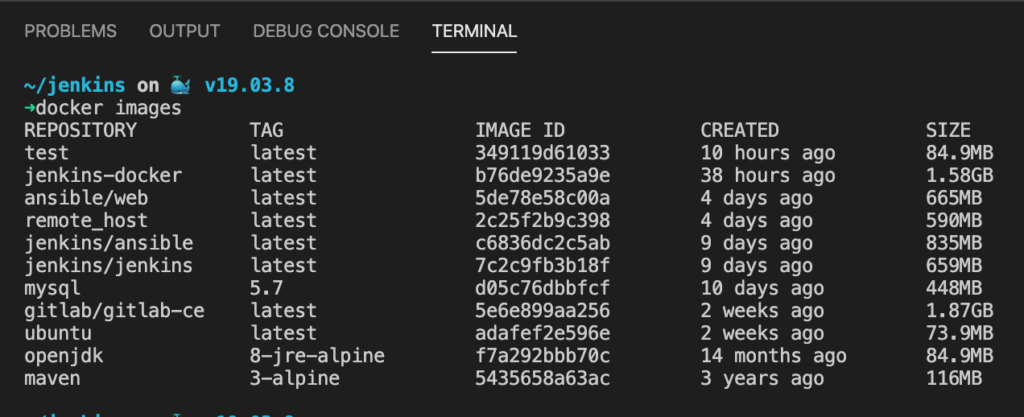
Before:
Going Further: Deeper Cleanup Options
If dangling images aren’t enough, Docker has more aggressive cleanup commands:
Remove all unused images
This removes every image not currently used by a running container — not just dangling ones:
docker image prune -a -fBe careful with -a. It will delete tagged images too if no container is using them. Only use this when you’re okay re-pulling images later.
Remove images older than a specific age
Keep recent images and only clean up old ones:
docker image prune -a -f --filter "until=168h"This removes unused images older than 7 days (168 hours). Useful on CI/CD servers or shared build machines.
Full system cleanup
To clean up images, stopped containers, unused networks, and build cache all at once:
docker system prune -fAdd --volumes to also remove unused volumes, but only if you’re sure no data needs to be preserved.
Quick Reference
| Command | What It Removes |
|---|---|
docker image prune -f | Dangling images only (<none> tags) |
docker image prune -a -f | All unused images (dangling + unreferenced tagged) |
docker image prune -a -f --filter "until=168h" | Unused images older than 7 days |
docker system prune -f | Images, containers, networks, and build cache |
docker system prune -a --volumes -f | Everything above + unused volumes |
Conclusion
Running docker image prune -f regularly keeps your Docker environment clean and frees up disk space. For dev machines with frequent builds, make it a habit after each session. If you’re running into Docker permission issues on WSL, see Resolving WSL Permission Denied When Connecting to Docker Daemon. For CI/CD pipelines that pull from private registries, check out How to Pull Docker Images from Private GitLab Registry with GitLab CI/CD.