Docker is an incredible tool that simplifies software deployment, but over time, your Docker host can get cluttered with unnecessary images. Particularly, you might encounter images tagged as <none>—these are dangling or untagged images that can accumulate and take up valuable disk space. This guide will walk you through the straightforward steps to remove those pesky <none> tags and clean up your Docker environment.
Why Remove None Tags?
When a newer build of a Docker image occurs, it often takes on a new repo:tag. If the previous image doesn’t have any containers depending on it, it loses its tag, leading to the <none>:<none> label. These untagged images serve no purpose, waste disk space, and make your Docker image list harder to navigate.
Benefits of Removing Untagged Docker Images:
- Frees up disk space: Unnecessary images are not occupying your storage.
- Simplifies management: Cleaner image listings make it easier to find and manage your useful Docker images.
- Better performance: Reducing clutter can increase Docker performance, especially when pulling, pushing, or building images.
- Avoids confusion: Prevents accidentally creating containers from outdated or irrelevant images.
Step-by-Step Guide to Removing None Tags
Let’s get started on tidying up your Docker host by removing these untagged images.
Step 1: List All Untagged Docker Images
First, let’s identify all the untagged images. Open your terminal and type in the following command:
docker images --filter "dangling=true"
Expected Output:
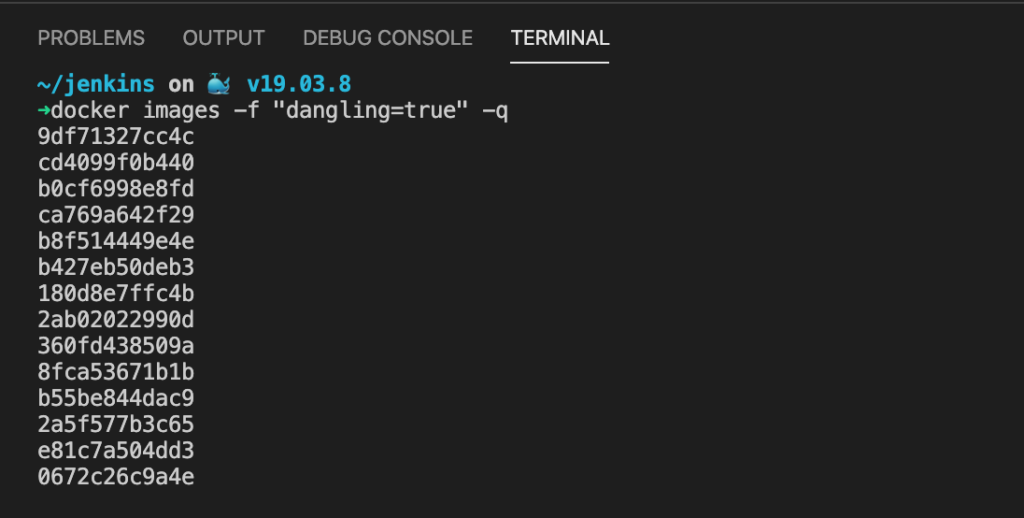
You’ll see a list of all the untagged images. These will usually have <none> listed under both the REPOSITORY and TAG columns.
Step 2: Remove All None Tagged Images
Now, we’ll issue a command to delete all these untagged images in one go. Ensure that no running containers are using these images before proceeding.
Input the following command:
docker rmi $(docker images -f "dangling=true" -q)
Expected Output:
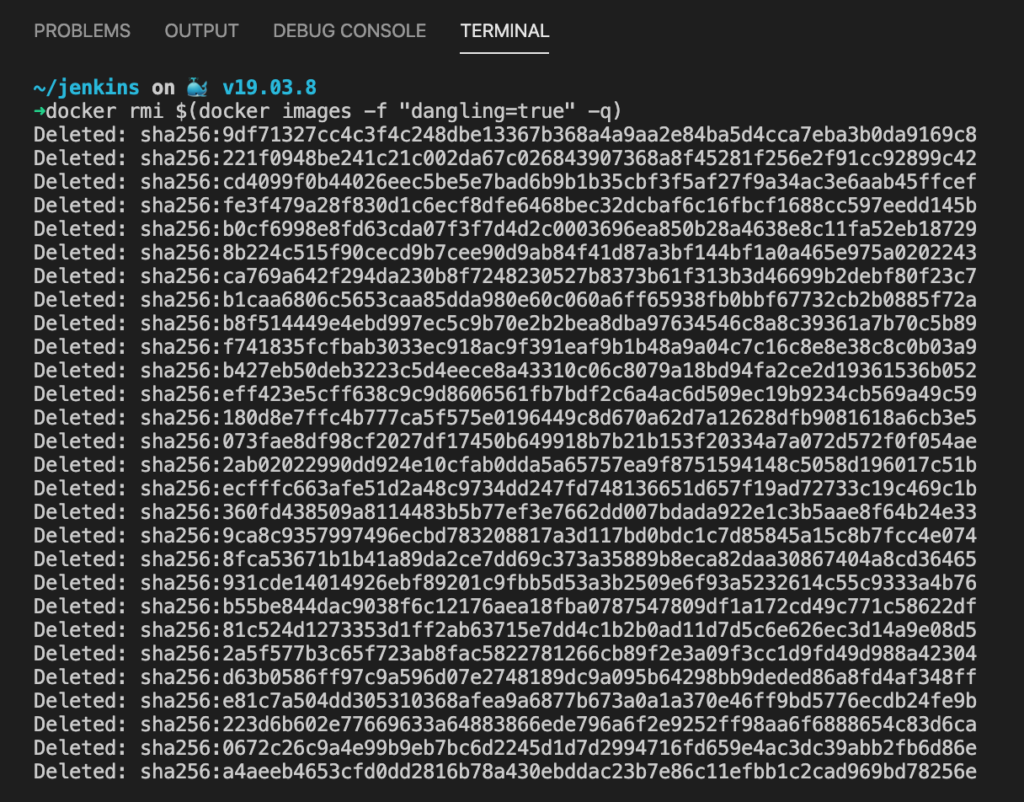
Docker will remove the untagged images, providing feedback on the removal process. It will warn you if any of these images are used by existing containers.
Step 3: Verify Your Docker Images
It’s always a good practice to check and ensure that the cleanup was successful.
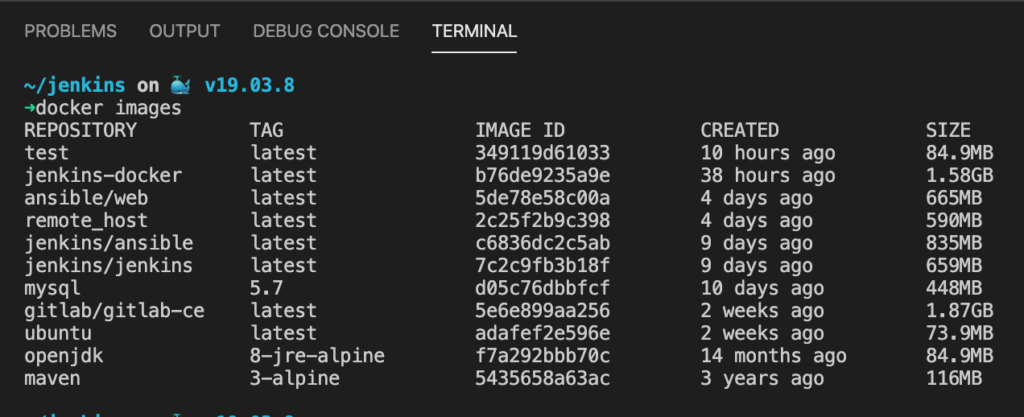
Expected ‘Before’ Output:
Here’s how your images appeared before the cleanup:
Expected ‘After’ Cleanup Output:
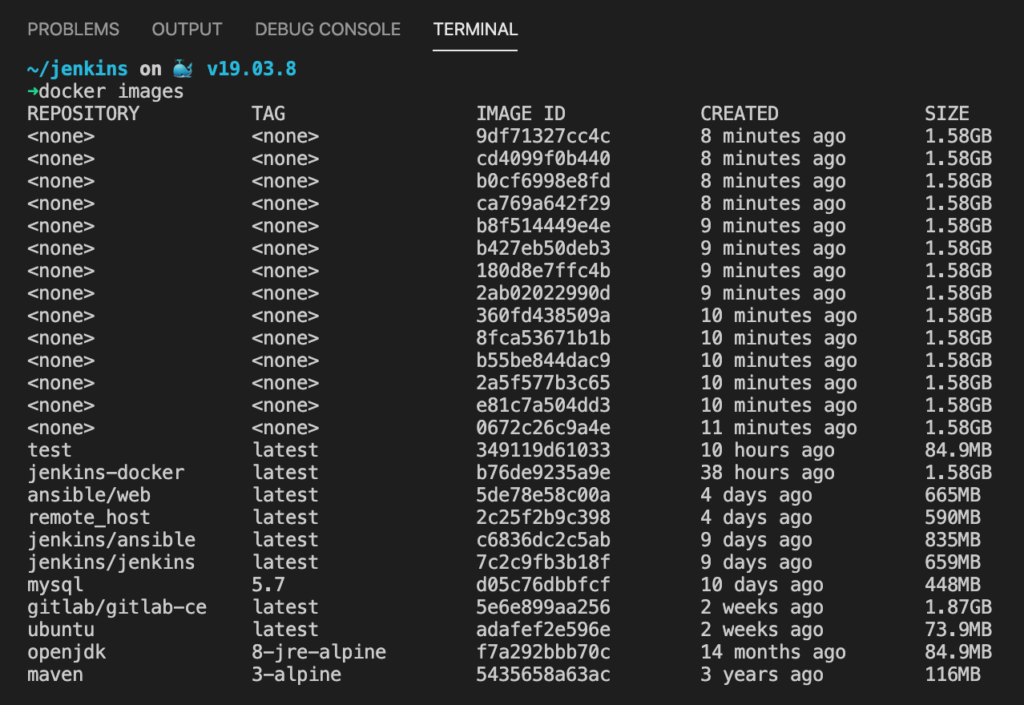
To view the remaining Docker images, type:
docker images
The list presented should no longer include the <none> tagged entries, leaving you with a neat and tidy overview of your Docker images.
And there you have it—a clean Docker host without unused and untagged images taking up your valuable space. Regular maintenance like this ensures an efficient and well-managed Docker environment.
For more details, visit Docker community forum on how to remove none tag images after building.
Happy Dockering!