
In this blog, we’ll show you a simple way to use Datadog for monitoring an Apache2 web server. Are you using an Ubuntu 22.04 EC2 instance? Perfect! We’ve got step-by-step instructions ready for you. Our goal is to make it easy to understand, so you can get Datadog up and running quickly. Let’s get started!
Prerequisites
- An AWS account.
- An EC2 instance running Ubuntu 22.04. Here’s how to launch one.
- Sudo privileges or use the
ubuntudefault user. - Apache2 Web Server installed on your Ubuntu system. Installation guide for Apache 2.4.
- A Datadog account. Sign up for a free plan.
Step 1: Install the Datadog Agent 7
SSH into your EC2 instance:
ssh username@your_ec2_ip
Update your package lists:
sudo apt-get update
Install or update the Datadog Agent 7 using the following command:
DD_API_KEY=XXXXXXXXXXXXXXXXXXXXXXXXXXXXXXXX DD_SITE="datadoghq.com" DD_APM_INSTRUMENTATION_ENABLED=host bash -c "$(curl -L https://s3.amazonaws.com/dd-agent/scripts/install_script_agent7.sh)"
You should provide your Datadog API key in place of “XXXXXXXXXXXXXXXXXXXXXXXXXXXXXXXX” in the command. This key is necessary for authentication and access to Datadog’s services.
Step 2: Enable Apache2 Status Module
Assuming the Apache2 is already installed, to enable mod_status for Apache2 use the following command:
sudo a2enmod status
Edit the Apache2 configuration to allow status reports:
sudo nano /etc/apache2/mods-enabled/status.conf
Ensure to enable the following block to the configuration file:
<Location "/server-status">
    SetHandler server-status
    Require local
</Location>
ExtendedStatus On
Reload Apache2 for the changes to take effect:
sudo systemctl reload apache2
Step 3: Configure the Datadog Agent
Navigate to the Apache integration config directory:
cd /etc/datadog-agent/conf.d/apache.d/
Rename the existing configuration file:
sudo mv conf.yaml.example conf.yaml
Edit the configuration file:
sudo nano conf.yaml
Ensure the instances section is properly configured:
instances:
  - apache_status_url: http://localhost/server-status?auto
Configure the logs collection:
logs:
  - type: file
    path: /var/log/apache2/access.log
    service: apache
    source: apache

  - type: file
    path: /var/log/apache2/error.log
    service: apache
    source: apache
To exit nano (text-editor) and save, press Ctrl + X, then Y, and Enter.
Step 4: Set Up Datadog API Key
Navigate to the Datadog Agent configuration directory:
/etc/datadog-agent
Open the datadog.yaml file to review the configuration:
sudo nano /etc/datadog-agent/datadog.yaml
Ensure your API key is properly configured and log collection is enabled, as shown below:
api_key: your_datadog_api_key
logs_enabled: true
Adjust permissions for the Apache2 logs:
sudo chmod 755 -R /var/log/apache2/
Restart the Datadog Agent:
sudo systemctl restart datadog-agent
sudo systemctl status datadog-agent
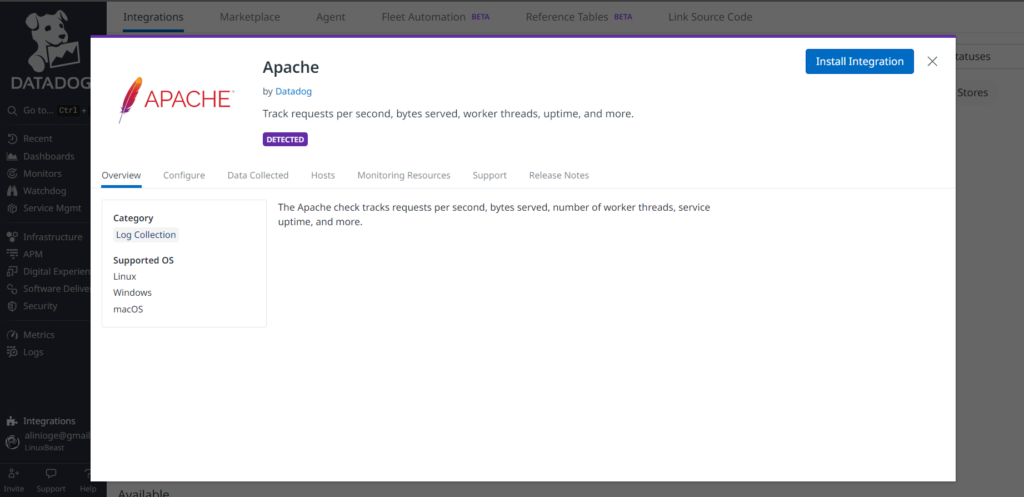
Step 5: Configure Datadog Integration on the Console
Log in to the Datadog console and navigate to Integrations. Find and install the Apache integration. Then, configure it as needed and click install configuration:
Your Apache metrics should start appearing on the dashboard shortly, as shown below:
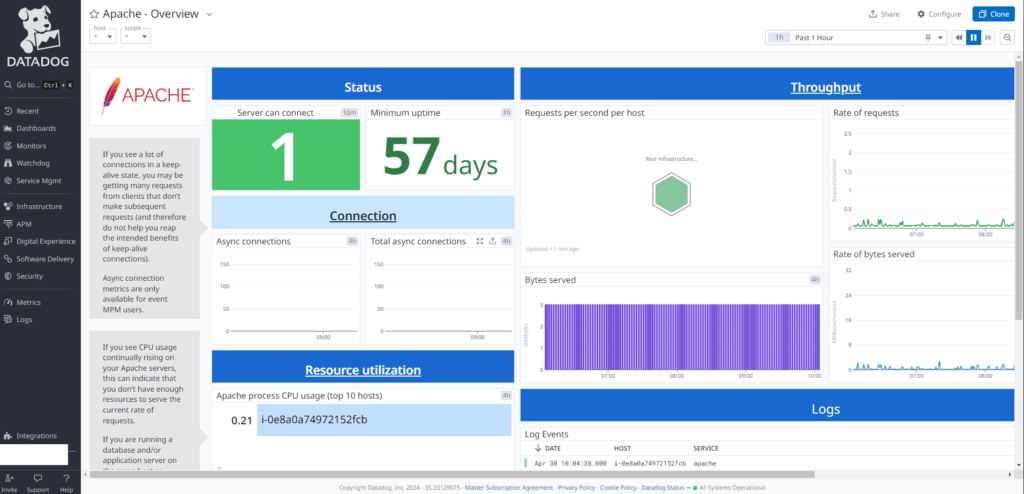
Conclusion
You’ve successfully installed Datadog on your EC2 instance with Ubuntu 22.04 and configured it to monitor your Apache2 web server. Give it a few minutes, then check your Datadog dashboard to see your server’s metrics.
Feel free to add additional monitoring features and set up alerts according to your needs. If you encounter any issues, refer to Datadog’s documentation or reach out to their support team.