In this blog, we’ll walk through how to install PostgreSQL on WSL using Ubuntu 22.04. This guide is helpful for those who want to set up PostgreSQL on a Windows system for development or testing purposes.
Scope
This blog covers the installation steps, configuration, and basic usage to get PostgreSQL up and running on a Windows system.
Purpose
The purpose of this tutorial is to help beginner developers and system administrators on how to:
- Set up PostgreSQL on WSL Ubuntu for development or testing purposes.
By following this guide, readers will have a working PostgreSQL environment on their Windows machine using WSL with Ubuntu 22.04.
Requirements
Before you start, ensure you have the following:
- Windows 10 or 11 with WSL enabled, visit our guide here.
- Ubuntu 22.04 installed and running on WSL.
- Basic knowledge of the Linux command line.
Step-by-Step Guide
Step 1. Update Package Lists
First, open your WSL terminal. It’s important to update the package lists to ensure you get the latest versions of the software:
sudo apt update
Step 2. Install PostgreSQL
Next, install PostgreSQL along with its associated packages by running:
sudo apt install postgresql postgresql-contrib -y
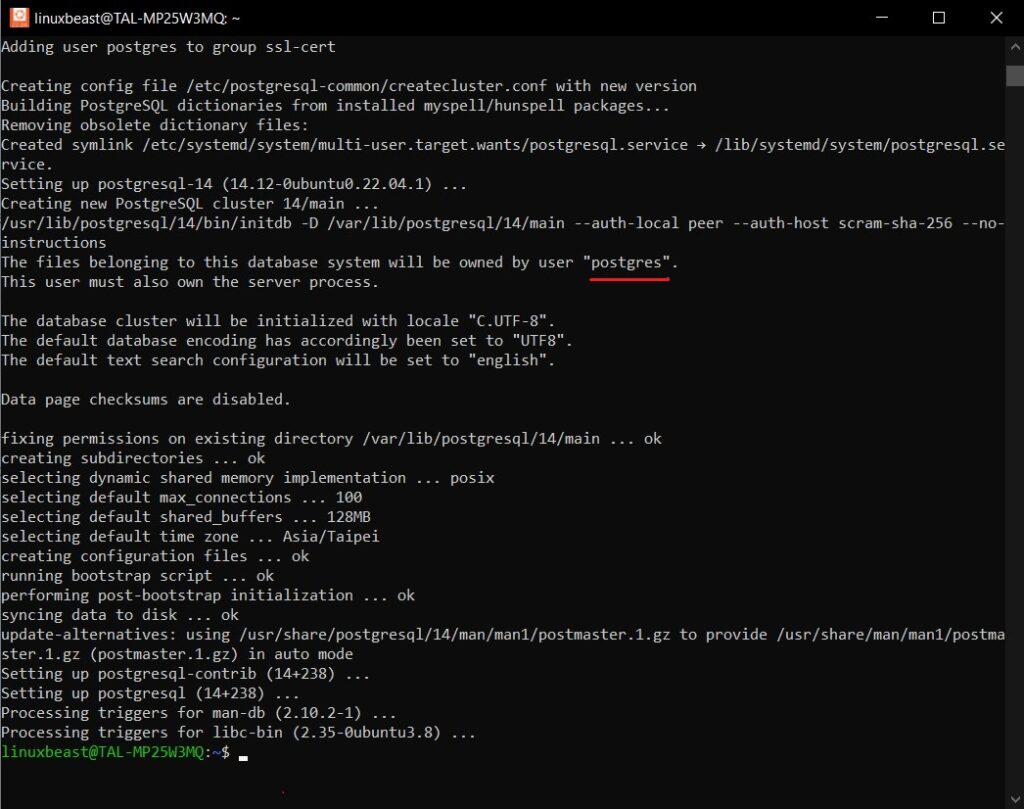
During the installation, the PostgreSQL user (postgres) will be created automatically.

Step 3. Start and Enable PostgreSQL
After the installation is complete, you need to start PostgreSQL and enable it to run as a service:
sudo service postgresql start
sudo systemctl enable postgresql
Step 4. Check PostgreSQL Status
To ensure that PostgreSQL is running properly, check its status with the following command:
sudo service postgresql status
You should see output indicating that PostgreSQL is active and running, as show below:

Step 5. Access PostgreSQL
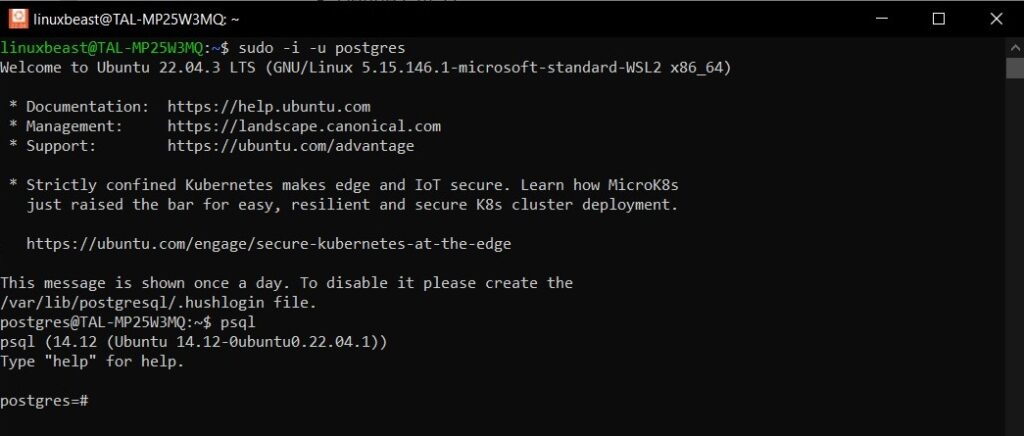
By default, PostgreSQL allows connections from the local machine. To access it, switch to the postgres user:
sudo -i -u postgres
Then, access the PostgreSQL prompt by typing:
psql
You are now connected to the PostgreSQL database and can execute SQL commands:

Step 6. Create a New PostgreSQL User and Database
To create a new user and database, you can run the following commands from the PostgreSQL prompt:
CREATE DATABASE mydb;
CREATE USER myuser WITH ENCRYPTED PASSWORD 'mypassword';
ALTER ROLE myuser SET client_encoding TO 'utf8';
ALTER ROLE myuser SET default_transaction_isolation TO 'read committed';
ALTER ROLE myuser SET timezone TO 'UTC';
GRANT ALL PRIVILEGES ON DATABASE mydb TO myuser;
Replace mydb, myuser, and mypassword with your preferred database name, username, and password.
Step 7. Displaying the List of Databases in PostgreSQL
To display the list of databases in PostgreSQL, you can use the \l command or SQL queries.
Using the \l Command
If you’re in the PostgreSQL command-line interface (psql), simply type:
\l
This command will list all available databases, their owners, and additional information, as shown below:

Using SQL Queries (Optional)
If you prefer to use SQL queries, you can also list databases with the following query:
SELECT datname FROM pg_database;
This query will return a list of database names, as show below:

Step 8. Exit PostgreSQL and Return to Your User
To exit the PostgreSQL prompt and return to your regular user, type:
\q
exit
Step 9. Validate the PostgreSQL Database Connection with a Python Script
To ensure your PostgreSQL database is accessible, you can use a Python script to validate the connection. Below is a sample script to connect to your PostgreSQL database using the connection string postgresql://myuser:mypassword@localhost:5432/mydb.
Required Packages
First, ensure you have the required packages installed. Open a terminal and run the following commands:
1. Install Python 3 and pip3:
sudo apt-get update
sudo apt-get install python3-pip
2. Install PostgreSQL Development Libraries:
sudo apt-get install libpq-dev
3. Install psycopg2-binary:
pip3 install psycopg2-binary
Python Script
Save the following script to a file, for example, test_postgresql_connection.py:
import psycopg2
from psycopg2 import OperationalError

def create_connection():
    # Connection parameters
    connection_string = "postgresql://myuser:mypassword@localhost:5432/mydb"

    try:
        # Create a new database session and return a new connection object
        connection = psycopg2.connect(connection_string)
        print("Connection to PostgreSQL DB successful")

        # Close the connection
        connection.close()
        print("Connection closed")

    except OperationalError as e:
        print(f"The error '{e}' occurred")

if __name__ == "__main__":
    create_connection()
Instructions to Run the Script
1. Save the above script to a file named test_postgresql_connection.py.
2. Open a terminal and navigate to the directory where you saved the script. Run the script using python3:
python3 test_postgresql_connection.py
This script will attempt to connect to the PostgreSQL database using the provided connection string. If the connection is successful, it will print a success message and then close the connection as shown below:

If there is an error (such as incorrect credentials or the database server is not running), it will catch the exception and print an error message.
Conclusion
Congratulations! You have successfully installed and configured PostgreSQL on WSL Ubuntu 22.04. You can now start building and managing your databases, leveraging the full potential of PostgreSQL in your development environment. If you need to upgrade PostgreSQL to a specific version, visit our guide here.
Happy coding!

