
AWS Lambda Layers are a powerful feature that allows you to manage and share common code and dependencies across multiple functions. In this guide, I will explain how to build Python libraries specifically for use in Lambda Layers and how to upload them to your AWS environment.
What to do
- Set Up Your Project Directory
- Define the Required Libraries
- Build the Python Dependencies
- Package the Dependencies into a ZIP File
- Upload the Lambda Layer via AWS CLI
- Verify the Lambda Layer in AWS Console
Prerequisites
- Ensure you have an active AWS account. If you don’t have one, sign up at AWS Sign-Up.
- Install the AWS Command Line Interface (CLI) on your local machine. Follow the Linuxbeast guide for installing AWS CLI v2 on your machine. Once installed, configure it with credentials that have permissions to manage Lambda and Layers by running
aws configure. - Docker is used to replicate the AWS Lambda execution environment locally, so you can build your packages accurately. Install Docker from the official site.
Step 1: Set Up Your Project Directory
The first step is to set up your project directory with the necessary files:
lambda_function/
│
├── src/
│   ├── lambda_function.py        		# Main Lambda function code file
│   └── requirements.txt          		# Python dependencies file
│
├── tests/                        		# Directory for unit tests
│   └── test_lambda_function.py   		# Unit tests for the Lambda function
├── python/                           	# Root directory for Python packages
│   └── lib/python3.11/site-packages/ 	# Target directory for installed packages
├── .gitignore                    		# Git ignore file
├── README.md                     		# Project readme file
└── requirements.txt              		# File listing the Python packages to include in the layer
Navigate to your lambda_function directory and create the subdirectories for Python packages:
mkdir -p python/lib/python3.11/site-packages/
Step 2: Define the Required Libraries
Create a requirements.txt file in your lambda_layer directory and list down all the libraries you need. For instance:
echo "requests boto3" > requirements.txt
This will install requests and boto3 in our Lambda Layer.
Step 3: Build the Python Dependencies
Using Docker, we can build our libraries using an environment that mirrors the AWS Lambda execution environment.
Pull the official AWS Lambda Python Docker image:
docker pull public.ecr.aws/lambda/python:3.11:latest
Use the pulled Docker image to install the dependencies from requirements.txt into site-packages:
sudo docker run -v "$PWD":/var/task "public.ecr.aws/sam/build-python3.11:latest" /bin/sh -c "pip install -r requirements.txt -t python/lib/python3.11/site-packages/; exit"
Step 4: Package the Dependencies into a ZIP File
With your dependencies installed, package them into a ZIP file that can be uploaded as a Lambda Layer:
zip -r layer.zip python
layer.zip is the file that will be uploaded to AWS Lambda as a new layer.
Step 5: Upload the Lambda Layer via AWS CLI
Now that you have your layer.zip file ready, it’s time to upload it to AWS Lambda:
aws lambda publish-layer-version --layer-name mypythonname-layer --zip-file fileb://layer.zip --compatible-runtimes python3.11
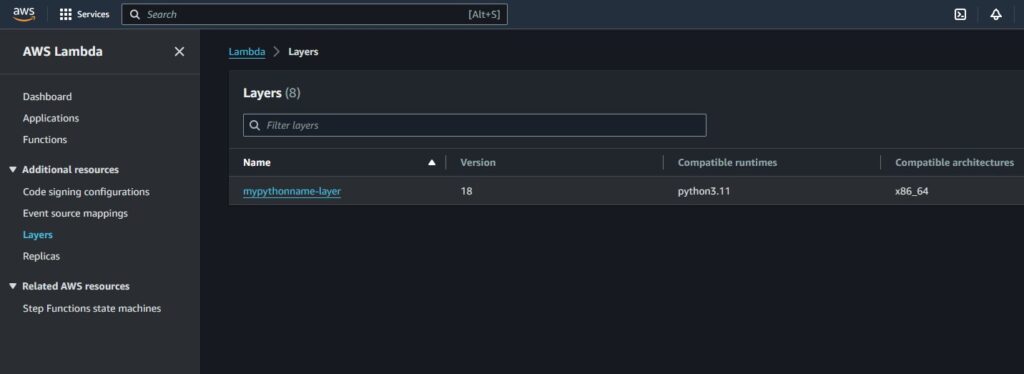
Step 6: Verify the Lambda Layer in AWS Console
- Go to the AWS Lambda console.
- Click on “Layers” in the left sidebar.
- You should see
my-pythonname–layerlisted among your Lambda Layers, similar as shown below:
Final Step: Define IAM Policy for Lambda Layer Access
Make sure your Lambda functions have the necessary permissions to access the newly created Lambda layer. You’ll need to create an IAM policy like the one below and attach it to your Lambda function’s role:
{
    "Version": "2012-10-17",
    "Statement": [
        {
            "Sid": "LambdaGetLayerVersion",
            "Effect": "Allow",
            "Action": "lambda:GetLayerVersion",
            "Resource": "arn:aws:lambda:*:1234567890:layer:*:*"
        }
    ]
}
This policy grants permission to Lambda functions to retrieve layer versions using the lambda:GetLayerVersion action. Adjust the resource ARN (arn:aws:lambda:*:1234567890:layer:*:*) to match the ARN of your Lambda layer.
Final Thoughts
You’ve successfully built and uploaded a custom Python Lambda Layer! You can now attach this layer to any of your Lambda functions by specifying the Layer ARN in your function configuration. Remember to update your layers if you make changes to the underlying library requirements to ensure your functions remain up to date.