This guide walks you through how to deploy an EC2 Ubuntu 22.04 LTS instance on AWS using the Management Console, then connect to it over SSH. The SSH commands shown here are run from WSL2 Ubuntu on Windows, but they work the same on any Linux or macOS terminal.
You would need this any time you want a Linux server in the cloud — hosting a web app, running a database, setting up a staging environment, or just having a sandbox to test things on. EC2 is one of the first services most people use on AWS, and Ubuntu 22.04 LTS is a good default since it gets security updates until April 2027.
Prerequisites
- An AWS account
- IAM permissions to launch EC2 instances
- A terminal with SSH — on Windows, use WSL 2 with Ubuntu
Launch an EC2 Ubuntu 22.04 Instance
Step 1: Open the EC2 Dashboard
Log in to the AWS Console. Type EC2 in the top search bar and click the service. Check the Region in the top-right corner — pick one close to your users.
Step 2: Start the Launch Wizard
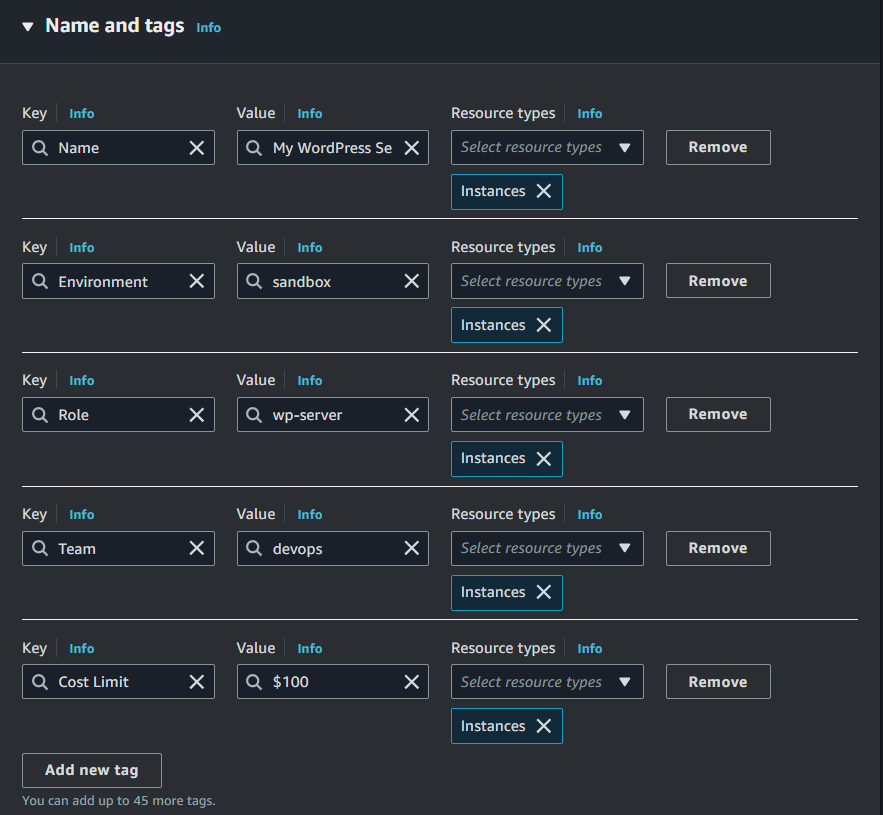
Click Launch instances. Enter a name for the instance under Name and tags — something like web-server or dev-sandbox.
Step 3: Select the AMI
Under Application and OS Images, search for Ubuntu and select Ubuntu Server 22.04 LTS (HVM), SSD Volume Type. Keep the architecture on 64-bit (x86).

Step 4: Choose an Instance Type
The instance type sets the CPU, memory, and network capacity. For testing or light workloads, t2.micro or t3.micro work well. Both are Free Tier eligible — 750 hours/month free for 12 months.
| Type | vCPUs | RAM | Price (us-east-1) | Free Tier |
|---|---|---|---|---|
| t2.micro | 1 | 1 GB | $0.0116/hr | Yes |
| t3.micro | 2 | 1 GB | $0.0104/hr | Yes |
| t3.small | 2 | 2 GB | $0.0208/hr | No |
Running a web server and database together? Pick at least t3.small. You can resize later by stopping the instance and changing the type.
Step 5: Create or Select a Key Pair
Under Key pair (login), pick an existing key or click Create new key pair. Choose RSA type and .pem format. The private key file downloads once — AWS does not store it, so keep it safe.
After downloading, move it and set the right permissions:
mv ~/Downloads/my-key.pem ~/.ssh/
chmod 400 ~/.ssh/my-key.pem
chmod 400 makes the file read-only for the owner. SSH will reject the key if permissions are too open.
Step 6: Configure Network and Security Group
The default VPC and subnet work for most setups. Make sure Auto-assign public IP is enabled so you can reach the instance from the internet. For custom VPC planning, see How to Design IP Addressing for Amazon VPC and Subnets.
Create a security group with these inbound rules:
| Type | Port | Source |
|---|---|---|
| SSH | 22 | My IP |
| HTTP | 80 | 0.0.0.0/0 |
| HTTPS | 443 | 0.0.0.0/0 |
Always set SSH to My IP. Leaving port 22 open to 0.0.0.0/0 means bots will start hitting it almost immediately. You can skip the HTTP/HTTPS rules if you only need terminal access.
Step 7: Set Storage Size
Default is 8 GB gp2 (General Purpose SSD). For a test box, that is enough. If you plan to store data, increase to 20-30 GB. You can also switch to gp3 — it is slightly cheaper and gives a higher baseline of 3,000 IOPS.
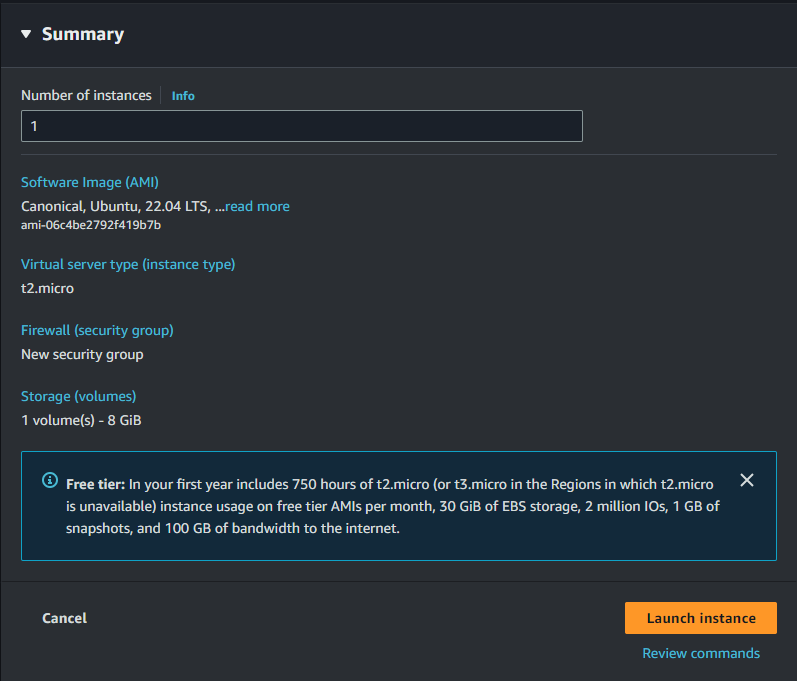
Step 8: Review and Launch
Check the Summary panel on the right. Confirm your AMI, instance type, key pair, security group, and storage look correct. Click Launch instance.
Click the instance ID on the success page to go to the Instances dashboard.
Connect to the Instance via SSH
Wait until Instance state shows Running and Status check shows 2/2 checks passed. Copy the Public IPv4 address from the instance details.
ssh -i ~/.ssh/my-key.pem ubuntu@203.0.113.10-i ~/.ssh/my-key.pem— path to your private keyubuntu— default username for Ubuntu AMIs (notrootorec2-user)203.0.113.10— replace with your instance’s public IP
Type yes when prompted to accept the host fingerprint. You should see a prompt like ubuntu@ip-172-31-xx-xx:~$ — you are in.
First thing to do is update packages:
sudo apt update && sudo apt upgrade -yTo avoid typing the -i flag every time, you can configure SSH keys permanently. See How to Setup Passwordless SSH Login on EC2 Ubuntu 22.04.
Stop vs Terminate
Stop shuts down the server but keeps the disk. You still pay for EBS storage. Use this when you want to pause and come back later.
Terminate deletes the instance and its root volume permanently. Use this when you are done with the server.
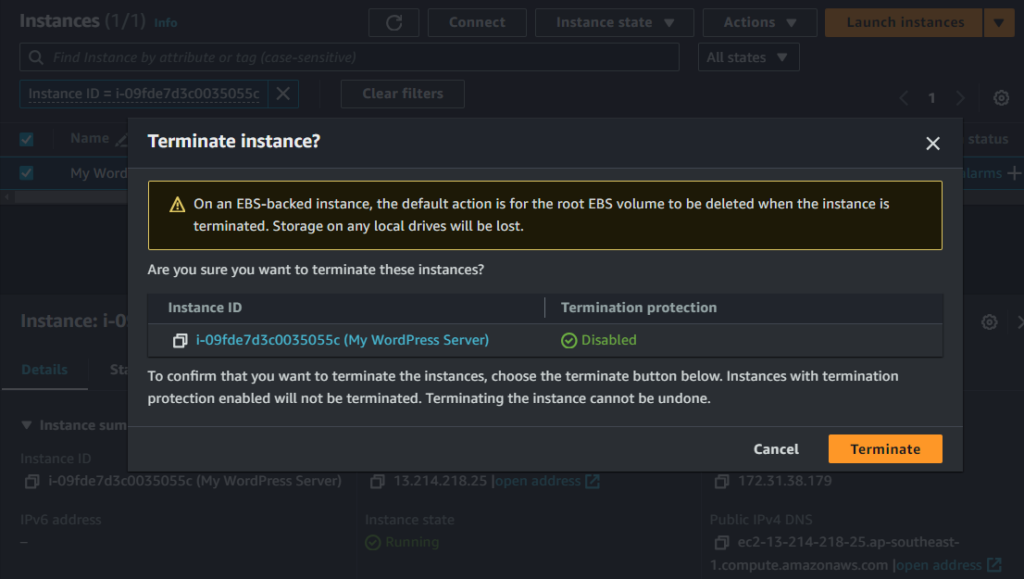
To do either: go to the EC2 dashboard, select the instance, click Instance state, and pick Stop or Terminate.
Troubleshooting
Connection Timed Out
- Your security group may not allow SSH from your current IP — your IP might have changed since you set the rule
- Make sure you are using the public IP, not the private one
- Confirm the instance is in the Running state
Permission Denied (publickey)
- Run
chmod 400on your key file — SSH rejects keys with open permissions - Check you are using
ubuntuas the username, notroot - Make sure the key file matches the key pair you selected during launch
Conclusion
You now have a running Ubuntu 22.04 LTS EC2 instance that you can SSH into. This is the foundation for most AWS server setups — web hosting, APIs, background workers, or staging environments.
From here, you might want to install Apache to host a website or add swap space if your instance is running low on memory.