
In this guide, you will learn how to create a public Amazon S3 bucket within the AWS management console. By default, Amazon S3 bucket is private accessible to avoid exposure of data in public facing. If you want to use a bucket to host a static website, you can use these step by step guide.
Note: Buckets are globally unique across all AWS account and you cannot create a bucket in another bucket.
What will you do
- Create Amazon S3 Bucket
- Upload Object on S3 bucket
- Access the Object URL on S3 Bucket
- Enable S3 Bucket on Public Access
- Verify the Object URL on Public Access
Requirements
- AWS Account. Create your own AWS Account
To get started, this guide will show you on how to create and public an Amazon S3 bucket on AWS Management Console.
Step 1. Create Amazon S3 Bucket
While signed in to the AWS Management Console with a user who has S3 permissions or either root account. Open the Amazon S3 Console and select Create Bucket.
Provide a globally unique name for the bucket, and choose the appropriate region.

If you want to enable your bucket on public access, you can uncheck the Block all public access checkbox, but for now leave all default settings and proceed to Create Bucket.

Now you have created a newly S3 bucket.

Step 2. Upload Object on S3 bucket
After you create a bucket, you can upload your objects (for example, your photo or video files). To upload objects, click on the bucket name and choose Uploads.

Step #1. Add sample objects (e.g your photos).
Step #2. You can set permissions to your object, but for now leave all default.
Step #3. Set properties, select which storage class you want to store you files, but for now leave all default for standard storage class.

Step #4. Review and proceed to click Uploads.
Now, this will be your newly object uploaded.
Step 3. Access the Object URL on S3 Bucket
When you saved your files into S3 bucket, there is a unique URI created for each object, which include bucket name as the domain.
Now, select the uploaded photo and popup box will prompt contains file information and then click on the Object URL to access the photo on web browser.

Next, You will see in the web browser the bucket has denied to access the object.

By default, the permissions on an object are private, but you can set up access control policies to grant permissions to others.
Step 4. Enable S3 Bucket on Public Access
You can create a public object using individual Actions, but this is not often necessary compared to enabling the S3 bucket. When an object is uploaded to the bucket your object is automatically accessible on publicly.
Now, Go to the Permissions tab and select Edit and then uncheck Block all public access boxes to give everyone read access to the object and click Save.

Next, the popup box verification will prompt and then type confirm in the field.

Next, Select Bucket Policy under Permissions tab and use the following S3 policy below on editor area and then replace lb-testbucket1 with your full bucket name.
{
    "Version": "2012-10-17",
    "Statement": [
        {
            "Sid": "Public S3 Bucket",
            "Effect": "Allow",
            "Principal": "*",
            "Action": "s3:GetObject",
            "Resource": "arn:aws:s3:::lb-testbucket1/*"
        }
    ]
}
Now save the bucket policy, and you will see a warning sign that your bucket will be granted now on public access.

Step 5. Verify the Object URL on Public Access
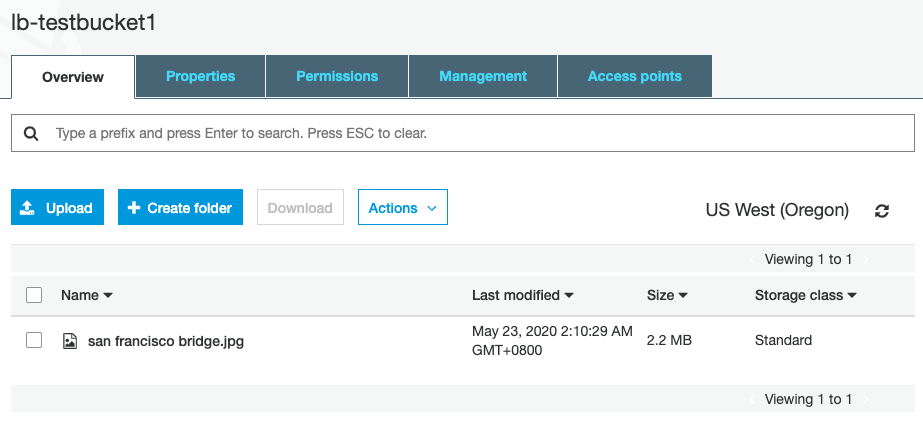
Go the the Overview tab and select your uploaded image and then click Actions and choose Open. You will redirected to a new web browser window.

Then, You should now see your image look like this.

That’s all.
Finally, you have now created a bucket and loaded content that is web-enabled and publicly accessible.
I hope this tutorial helped you and feel free to comment section below for more suggestions.