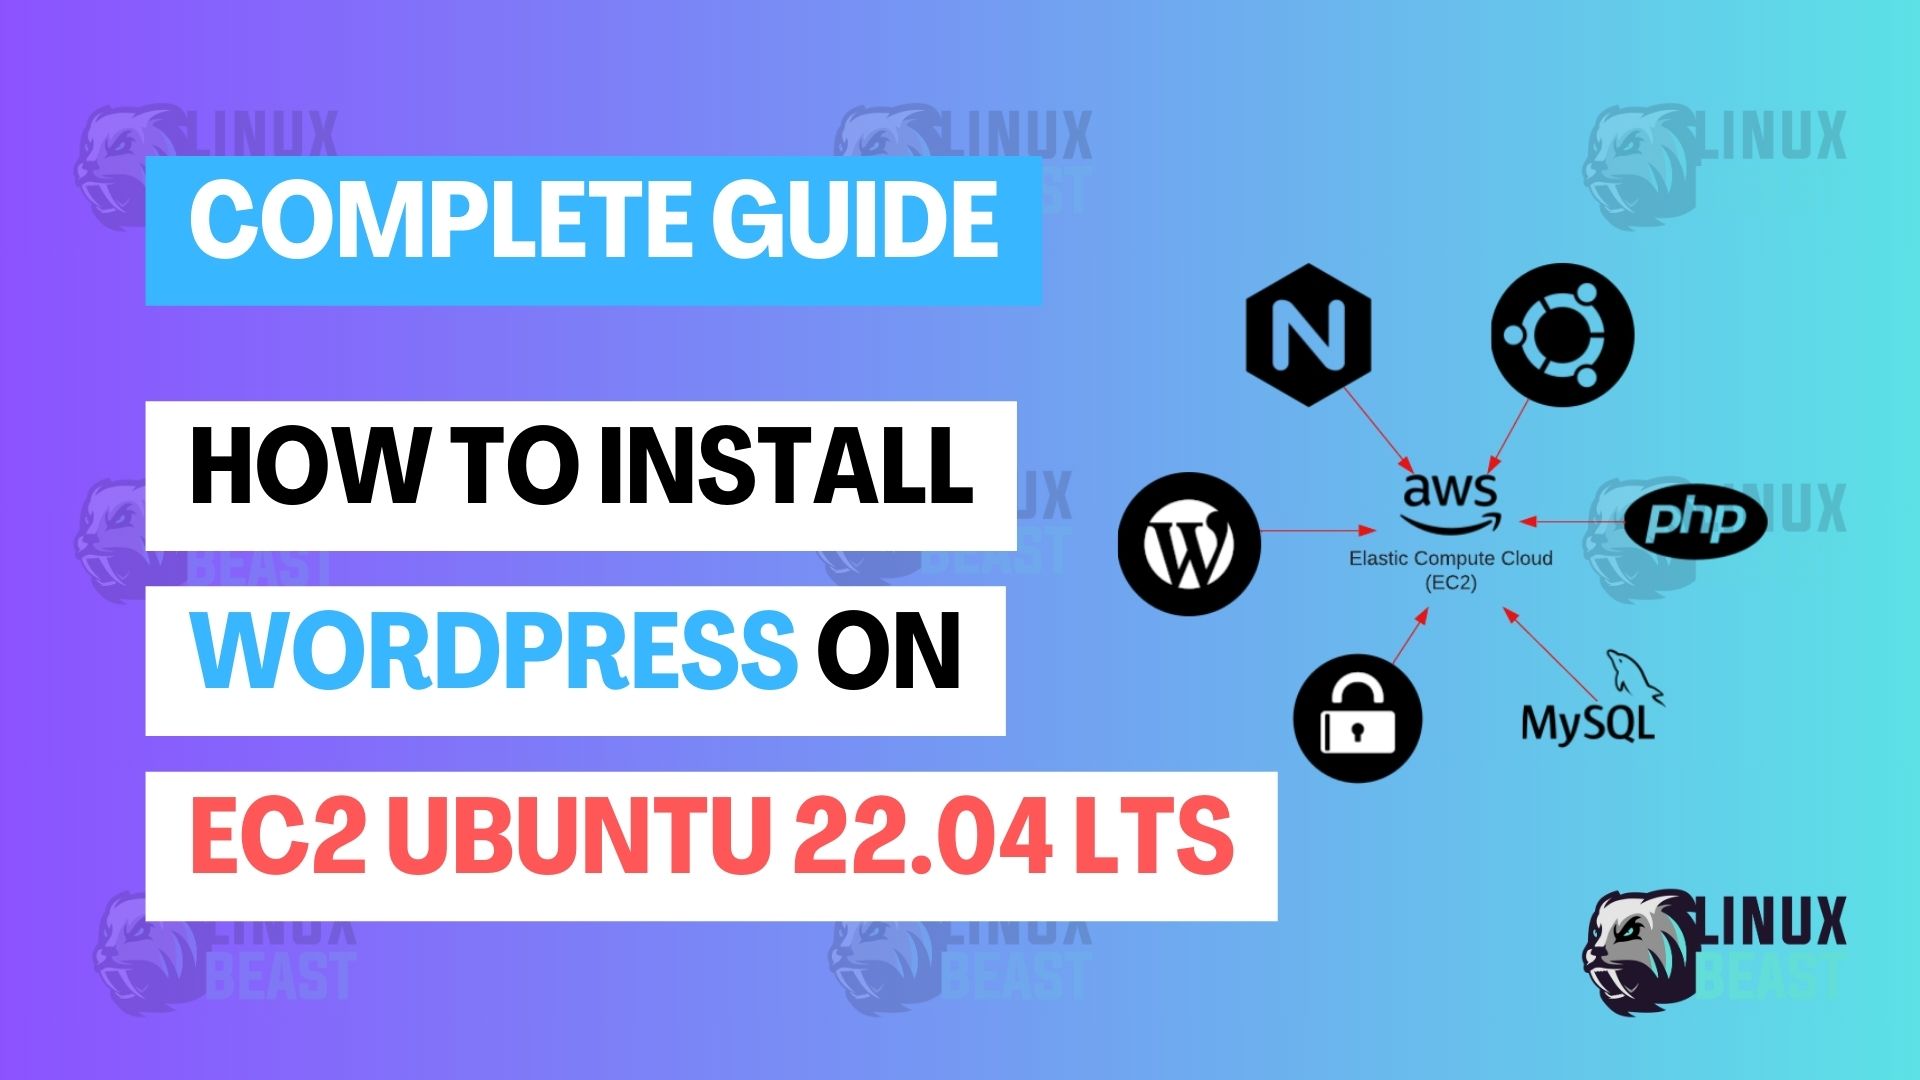
This guide walks you through how to install WordPress on EC2 Ubuntu 22.04 using the LAMP stack — Linux, Apache, MySQL, and PHP. By the end, you’ll have a fully working WordPress site running on your own EC2 instance.
WordPress powers over 40% of all websites, and running it on EC2 gives you full control over your server, performance tuning, and scaling. If you’ve been using managed WordPress hosting and want to saved money, this is the way to go.
Prerequisites
- An EC2 instance running Ubuntu 22.04 — follow How to deploy EC2 Ubuntu 22.04 LTS on AWS if you need one
- SSH access to your instance
- A security group that allows inbound traffic on ports 22 (SSH), 80 (HTTP), and 443 (HTTPS)
- A domain name pointed to your EC2 instance’s public IP (optional but recommended)
- If you’re on a
t2.microort3.microinstance, consider adding swap space to avoid running out of memory
Step-by-Step Installation
Step 1: Update System Packages
SSH into your EC2 instance and update the package index to make sure you’re installing the latest versions of everything.
sudo apt update && sudo apt upgrade -yStep 2: Install Apache
Apache is the web server that will serve your WordPress site. If you want a more detailed walkthrough of Apache configuration, check out How to Install Apache 2.4 Web Server on EC2 Ubuntu 22.04 LTS.
sudo apt install -y apache2Enable Apache to start on boot and verify it’s running:
sudo systemctl enable apache2
sudo systemctl status apache2
You should see active (running) in the output. Open your browser and visit http://your-ec2-public-ip — you should see the Apache default page.
Step 3: Install MySQL
WordPress needs a database to store posts, pages, users, and settings. Install MySQL server:
sudo apt install -y mysql-serverRun the security script to set a root password and remove insecure defaults:
sudo mysql_secure_installationDuring the prompts:
- Set the root password when prompted
- Remove anonymous users — Yes
- Disallow root login remotely — Yes
- Remove test database — Yes
- Reload privilege tables — Yes
For a deeper look at MySQL installation and configuration, see How to Install MySQL Database on EC2 Ubuntu 22.04 LTS.
Step 4: Create a WordPress Database and User
Log into MySQL and create a dedicated database and user for WordPress. Never use the MySQL root account for your application.
sudo mysqlRun the following SQL commands inside the MySQL shell. Replace your_strong_password with an actual strong password:
CREATE DATABASE wordpress DEFAULT CHARACTER SET utf8mb4 COLLATE utf8mb4_unicode_ci;
CREATE USER 'wpuser'@'localhost' IDENTIFIED BY 'your_strong_password';
GRANT ALL PRIVILEGES ON wordpress.* TO 'wpuser'@'localhost';
FLUSH PRIVILEGES;
EXIT;utf8mb4— supports full Unicode including emojis, which is what WordPress recommendswpuser— a dedicated user with access only to the WordPress database
Step 5: Install PHP and Required Extensions
WordPress is built on PHP. Install PHP along with the extensions WordPress needs to function properly:
sudo apt install -y php php-mysql php-curl php-gd php-mbstring php-xml php-xmlrpc php-soap php-intl php-zip libapache2-mod-phpHere’s what the key extensions do:
php-mysql— connects PHP to MySQLphp-curl— allows WordPress to make HTTP requests (used by plugins and updates)php-gd— image processing for thumbnails and mediaphp-mbstring— handles multibyte strings (needed for non-English content)php-xml— XML parsing for sitemaps, RSS feeds, and morephp-zip— handles plugin and theme ZIP fileslibapache2-mod-php— lets Apache process PHP files
If you need a specific PHP version like 8.3, see How to Install PHP 8.3 on an EC2 Ubuntu 22.04 LTS Instance.
Verify PHP is installed:
php -vStep 6: Download and Configure WordPress
Download the latest WordPress release, extract it, and move it to Apache’s web root:
cd /tmp
curl -O https://wordpress.org/latest.tar.gz
tar -xzf latest.tar.gz
sudo mv wordpress /var/www/html/wordpress
Set the correct file ownership so Apache can read and write WordPress files:
sudo chown -R www-data:www-data /var/www/html/wordpress
sudo chmod -R 755 /var/www/html/wordpress
Now create the WordPress config file from the sample template:
cd /var/www/html/wordpress
sudo cp wp-config-sample.php wp-config.php
Generate unique security keys from the WordPress API:
curl -s https://api.wordpress.org/secret-key/1.1/salt/Copy the output. Then open the config file:
sudo nano /var/www/html/wordpress/wp-config.phpUpdate the following values in wp-config.php:
define( 'DB_NAME', 'wordpress' );
define( 'DB_USER', 'wpuser' );
define( 'DB_PASSWORD', 'your_strong_password' );
define( 'DB_HOST', 'localhost' );
define( 'DB_CHARSET', 'utf8mb4' );
define( 'DB_COLLATE', '' );
Also replace the placeholder salt keys with the ones you generated above. Save and close the file.
Step 7: Configure Apache Virtual Host
Create an Apache virtual host config so your WordPress site is served properly. Replace example.com with your actual domain (or use your EC2 public IP if you don’t have a domain yet):
sudo nano /etc/apache2/sites-available/wordpress.confAdd the following configuration:
<VirtualHost *:80>
    ServerName example.com
    ServerAlias www.example.com
    DocumentRoot /var/www/html/wordpress

    <Directory /var/www/html/wordpress>
        AllowOverride All
        Require all granted
    </Directory>

    ErrorLog ${APACHE_LOG_DIR}/wordpress_error.log
    CustomLog ${APACHE_LOG_DIR}/wordpress_access.log combined
</VirtualHost>
AllowOverride All— lets WordPress use.htaccessfor permalinks and rewritesDocumentRoot— points to the WordPress installation directory
Enable the new site, enable the rewrite module (required for WordPress permalinks), disable the default site, and restart Apache:
sudo a2ensite wordpress.conf
sudo a2enmod rewrite
sudo a2dissite 000-default.conf
sudo systemctl restart apache2
Step 8: Complete the WordPress Setup in Your Browser
Open your browser and go to:
http://your-ec2-public-ipOr if you have a domain configured:
http://example.comYou should see the WordPress installation wizard. Select your language, then fill in:
- Site Title — your site name
- Username — your admin username (don’t use “admin” for security reasons)
- Password — a strong password
- Email — your email address
Click Install WordPress, and you’re done. Log in at http://your-domain/wp-admin.
Post-Installation Recommendations
Your WordPress site is running, but there are a few things you should do next to keep it secure and performant.
Set Proper File Permissions
WordPress needs specific permissions to work correctly while staying secure:
sudo find /var/www/html/wordpress -type d -exec chmod 755 {} \;
sudo find /var/www/html/wordpress -type f -exec chmod 644 {} \;
sudo chmod 600 /var/www/html/wordpress/wp-config.php- Directories get
755— readable and executable by everyone, writable only by the owner - Files get
644— readable by everyone, writable only by the owner wp-config.phpgets600— readable only by the owner, since it contains database credentials
Enable HTTPS with Let’s Encrypt
Running WordPress over HTTP is fine for testing, but you need HTTPS for production. Follow How to Secure Apache2 with Let’s Encrypt on Ubuntu 22.04 to set up a free SSL certificate.
Increase PHP Upload Limits
The default PHP upload size is 2MB, which is too small for most WordPress themes and media files. Update the PHP config:
sudo nano /etc/php/8.1/apache2/php.iniFind and update these values:
upload_max_filesize = 64M
post_max_size = 64M
max_execution_time = 300
memory_limit = 256M
Restart Apache to apply the changes:
sudo systemctl restart apache2Conclusion
You now have WordPress running on an EC2 Ubuntu 22.04 instance with Apache, MySQL, and PHP. From here, you can install themes, add plugins, and start publishing content.
As a next step, set up automated MySQL backups to S3 so you don’t lose your data if something goes wrong.