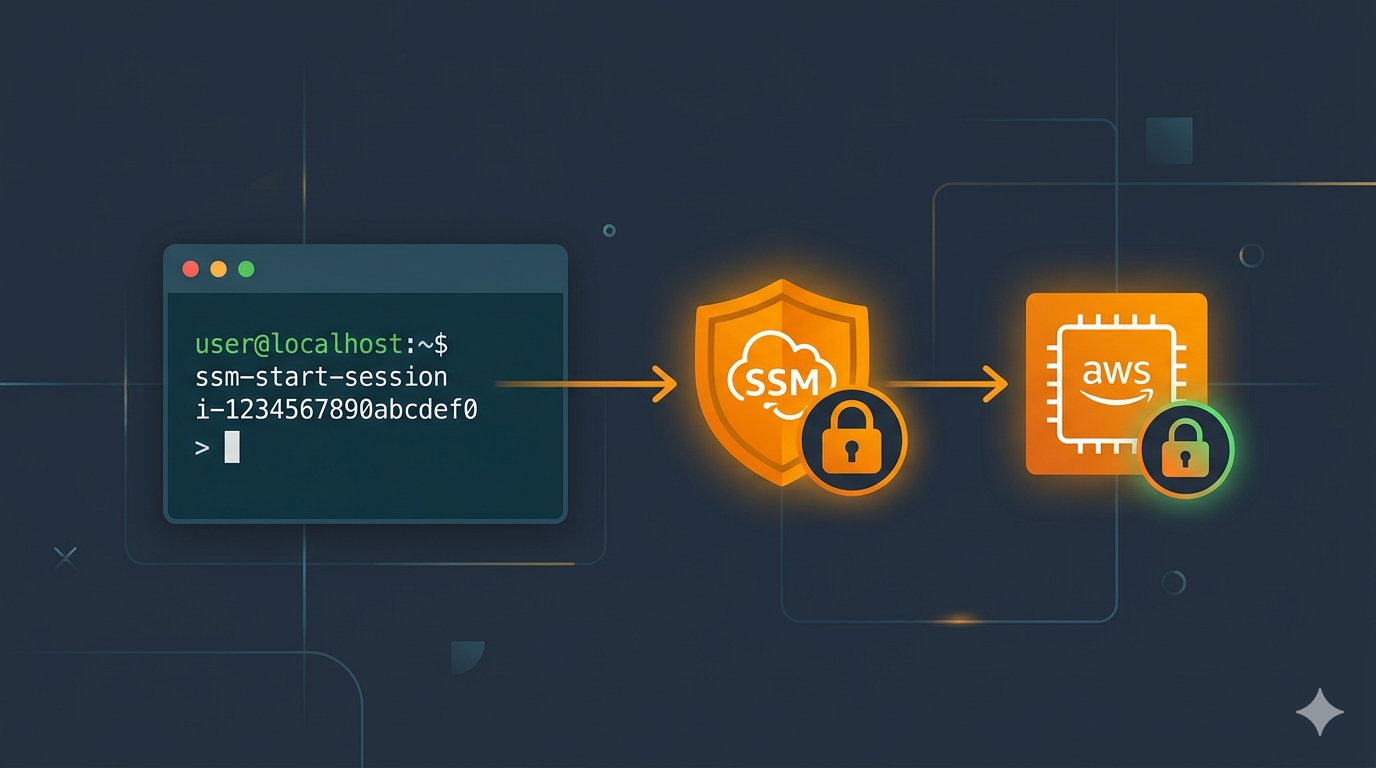
AWS SSM Session Manager lets you access EC2 instances without SSH keys, open inbound ports, or bastion hosts. You get a secure shell session through the AWS Systems Manager agent — all traffic goes through HTTPS, and every session is logged. This guide covers installing the required tools and starting your first SSM session from the command line.
The examples in this guide are run on WSL2 Ubuntu in Windows, but they work the same on any Ubuntu or Linux system.
Prerequisites
- An EC2 instance with the SSM Agent installed and running (most Amazon Linux and Ubuntu AMIs include it by default)
- An IAM instance profile attached to the EC2 instance with the
AmazonSSMManagedInstanceCorepolicy - The instance must have outbound internet access or VPC endpoints configured for SSM
- AWS CLI v2 installed on your local machine — see How to Install AWS CLI v2 on Ubuntu 22.04 if you need it
- AWS SSO configured for CLI access — follow How to Configure AWS SSO CLI Access for Linux Ubuntu if you use SSO
How AWS SSM Session Manager Works
Traditional SSH requires you to manage key pairs, open port 22, and sometimes set up bastion hosts. SSM Session Manager replaces all of that. The SSM Agent on the instance maintains an outbound connection to the Systems Manager service. When you start a session, AWS brokers the connection over HTTPS — no inbound ports needed.
This approach gives you a few benefits: centralized access control through IAM, full session logging to CloudWatch or S3, and no SSH keys to rotate or distribute.
Step-by-Step Guide
1. Install the Session Manager Plugin
The AWS CLI alone cannot start SSM sessions. You need the Session Manager plugin installed locally. Download and install it on Ubuntu/WSL2:
curl "https://s3.amazonaws.com/session-manager-downloads/plugin/latest/ubuntu_64bit/session-manager-plugin.deb" -o "/tmp/session-manager-plugin.deb"sudo dpkg -i /tmp/session-manager-plugin.debVerify the installation:
session-manager-plugin --version
You should see a version number like 1.2.792.0. If the command is not found, restart your terminal and try again.
2. Authenticate with AWS
If you use AWS SSO, log in with your profile before starting a session:
aws sso login --profile your-profile-nameThis opens your browser for SSO authentication. Once you see “Successfully logged into Start URL,” you’re ready.
If you use static IAM credentials instead of SSO, make sure your ~/.aws/credentials file is configured or your environment variables are set.
3. Start an SSM Session
Connect to your EC2 instance using its instance ID:
aws ssm start-session --target i-0123456789abcdef0 --profile your-profile-name--target— the EC2 instance ID you want to connect to--profile— your AWS CLI profile name (omit if using the default profile)
If everything is configured correctly, you’ll see output like this:
Starting session with SessionId: user@example.com-abc123def456
$
You now have a shell on the instance. Type exit to end the session.
4. Run Commands Without an Interactive Session
Sometimes you just need to run a quick command without opening a full shell. Use ssm send-command for that. This is also useful when the instance has restrictions that prevent interactive sessions (like Active Directory domain controllers).
For Linux instances:
aws ssm send-command \
  --instance-id i-0123456789abcdef0 \
  --document-name "AWS-RunShellScript" \
  --parameters 'commands=["hostname","whoami","uname -a"]' \
  --profile your-profile-name
For Windows instances:
aws ssm send-command \
  --instance-id i-0123456789abcdef0 \
  --document-name "AWS-RunPowerShellScript" \
  --parameters 'commands=["hostname","whoami","ipconfig"]' \
  --profile your-profile-name
Both commands return a CommandId in the response. Use that ID to retrieve the output.
5. Retrieve Command Output
After sending a command, grab the results with get-command-invocation:
aws ssm get-command-invocation \
  --command-id "your-command-id-here" \
  --instance-id i-0123456789abcdef0 \
  --profile your-profile-name
The output includes StandardOutputContent with the command results and Status showing whether it succeeded. If the status shows “InProgress,” wait a few seconds and try again.
Troubleshooting Common Issues
SSO Session Expired
If you see “The SSO session associated with this profile has expired,” re-authenticate:
aws sso login --profile your-profile-nameSession Manager Plugin Not Found
If you get “SessionManagerPlugin is not found,” the plugin isn’t installed or isn’t in your PATH. Reinstall it using the steps in Step 1, then restart your terminal.
Target Instance Not Connected
If the session fails with “target is not connected,” check these on the EC2 instance:
- The SSM Agent is installed and running — check with
sudo systemctl status amazon-ssm-agent - The instance has an IAM instance profile with the
AmazonSSMManagedInstanceCorepolicy - The instance has outbound HTTPS (port 443) access to SSM endpoints
Active Directory Domain Controller Error
Windows instances running as AD domain controllers will fail with “Failed to create user ssm-user.” SSM tries to create a local ssm-user account, which conflicts with the domain controller role. Use ssm send-command (Step 4) as a workaround to run commands without an interactive session.
SSM Session Manager vs SSH
| Feature | SSM Session Manager | SSH |
|---|---|---|
| Inbound ports | None required | Port 22 must be open |
| Key management | IAM-based, no SSH keys | SSH key pairs required |
| Session logging | CloudWatch/S3 built-in | Requires separate setup |
| Access control | IAM policies | Security groups + keys |
| Bastion host | Not needed | Often required for private subnets |
Conclusion
SSM Session Manager gives you a secure, auditable way to access EC2 instances without dealing with SSH keys or open ports. With the Session Manager plugin and AWS CLI, you can start interactive sessions or run remote commands directly from your terminal.
If you’re managing ECS containers, you might also want to check out How to Enable Amazon ECS Exec on ECS Fargate Containers, which uses a similar approach for Fargate. For setting up cross-account access patterns, see How to Set Up Cross-Account Access in AWS with AssumeRole.